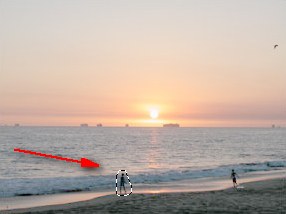
This beginner photoshop tutorial will practice about how to remove small objects in a photo. We can also use this to remove spots, scratches, or wrinkles so the photo will look nicer than before. The image we will use is as follow:

Okey, let's start.
Step 1
Copy that image into your computer, and then open it on photoshop.
Step 2
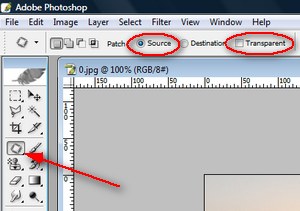
Select the Patch Tool in toolbox. In options bar, select Source and unselect Transparent.

Step 3
Make a selection around an object we want to remove. I choose the man walking on the beach first.

Step 4
Position the mouse pointer inside the selection, and then drag to the area that is similar to the selected area, and then release the mouse button.

Step 5
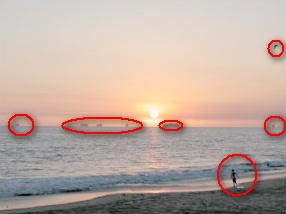
Repeat the Step 4 to remove other objects.

and the end result would be like this:

Finally, done. It's quick and easy, isn't it?
You will need some time on Step 4 so that can produce best result.
1 comment:
You can also use a photo object removal app Photoupz to remove unwanted elements from photos.
Post a Comment